Niagara Falls sunrise photography requires more than just showing up! There are few places in Canada more iconic than Niagara Falls. But capturing a fresh, unique angle of one of the most photographed natural wonders in the world requires more than just showing up—it requires planning, patience, and in this case, a tolerance for bitter cold.
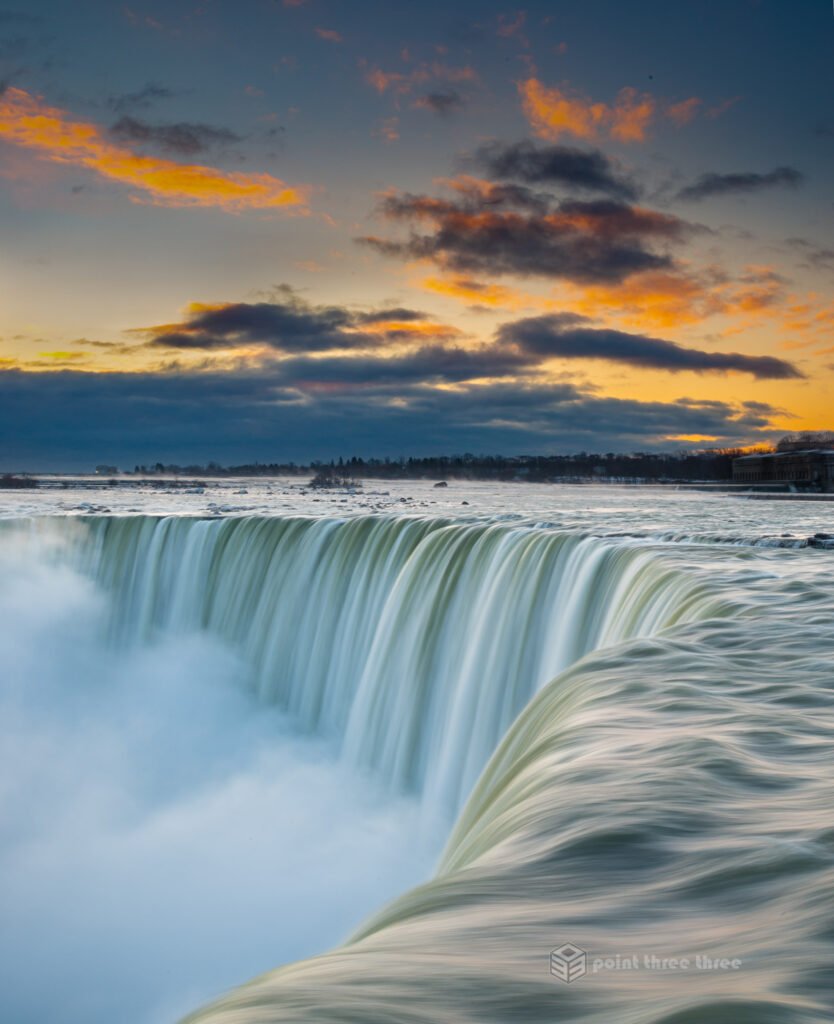
For this shoot, I set my sights on photographing the Canadian Horseshoe Falls at sunrise, aiming to frame the sun just as it crested behind the curve of the falls, casting light through the morning mist.
Best Time of Year to Photograph Niagara Falls at Sunrise
To get the perfect alignment, I turned to Photo Ephemeris—a tool I use all the time when planning landscape shoots. According to the tool, the best window to catch the sun rising directly behind the arc of the Horseshoe Falls from the Canadian side is mid-December through January, when the sun’s azimuth lines up as close as possible with the horseshoe’s curve. The Photo Ephermeris is both on the web but you can also download from the iOS, but sadly my android version is only updated with critical bug fixes now.
That meant one thing: I’d need to shoot in winter. Adding a constant water mist from the falls means you need to be prepared for the cold.
A Cold and Misty Morning
I arrived before sunrise. The ambient temperature was below 0°C, but with the mist it feels much much colder! I set up near Table Rock Welcome Centre, carefully choosing a slightly elevated position where I could see into the horseshoe and have a clear line toward the eastern horizon.
Despite the cold and constant wiping of my lens from accumulating frost and mist, the moment was sublime. You will have the location mostly to yourself at this time, which is a stark contrast to the throngs of visitors that typically hording this spot.
Niagara Falls sunrise Photography Notes
- Best time of year: Mid-December to early January for sunrise behind the falls
- Ideal conditions: Clear skies with come clouds above the horizon, cold temps (expect mist and lens challenges)
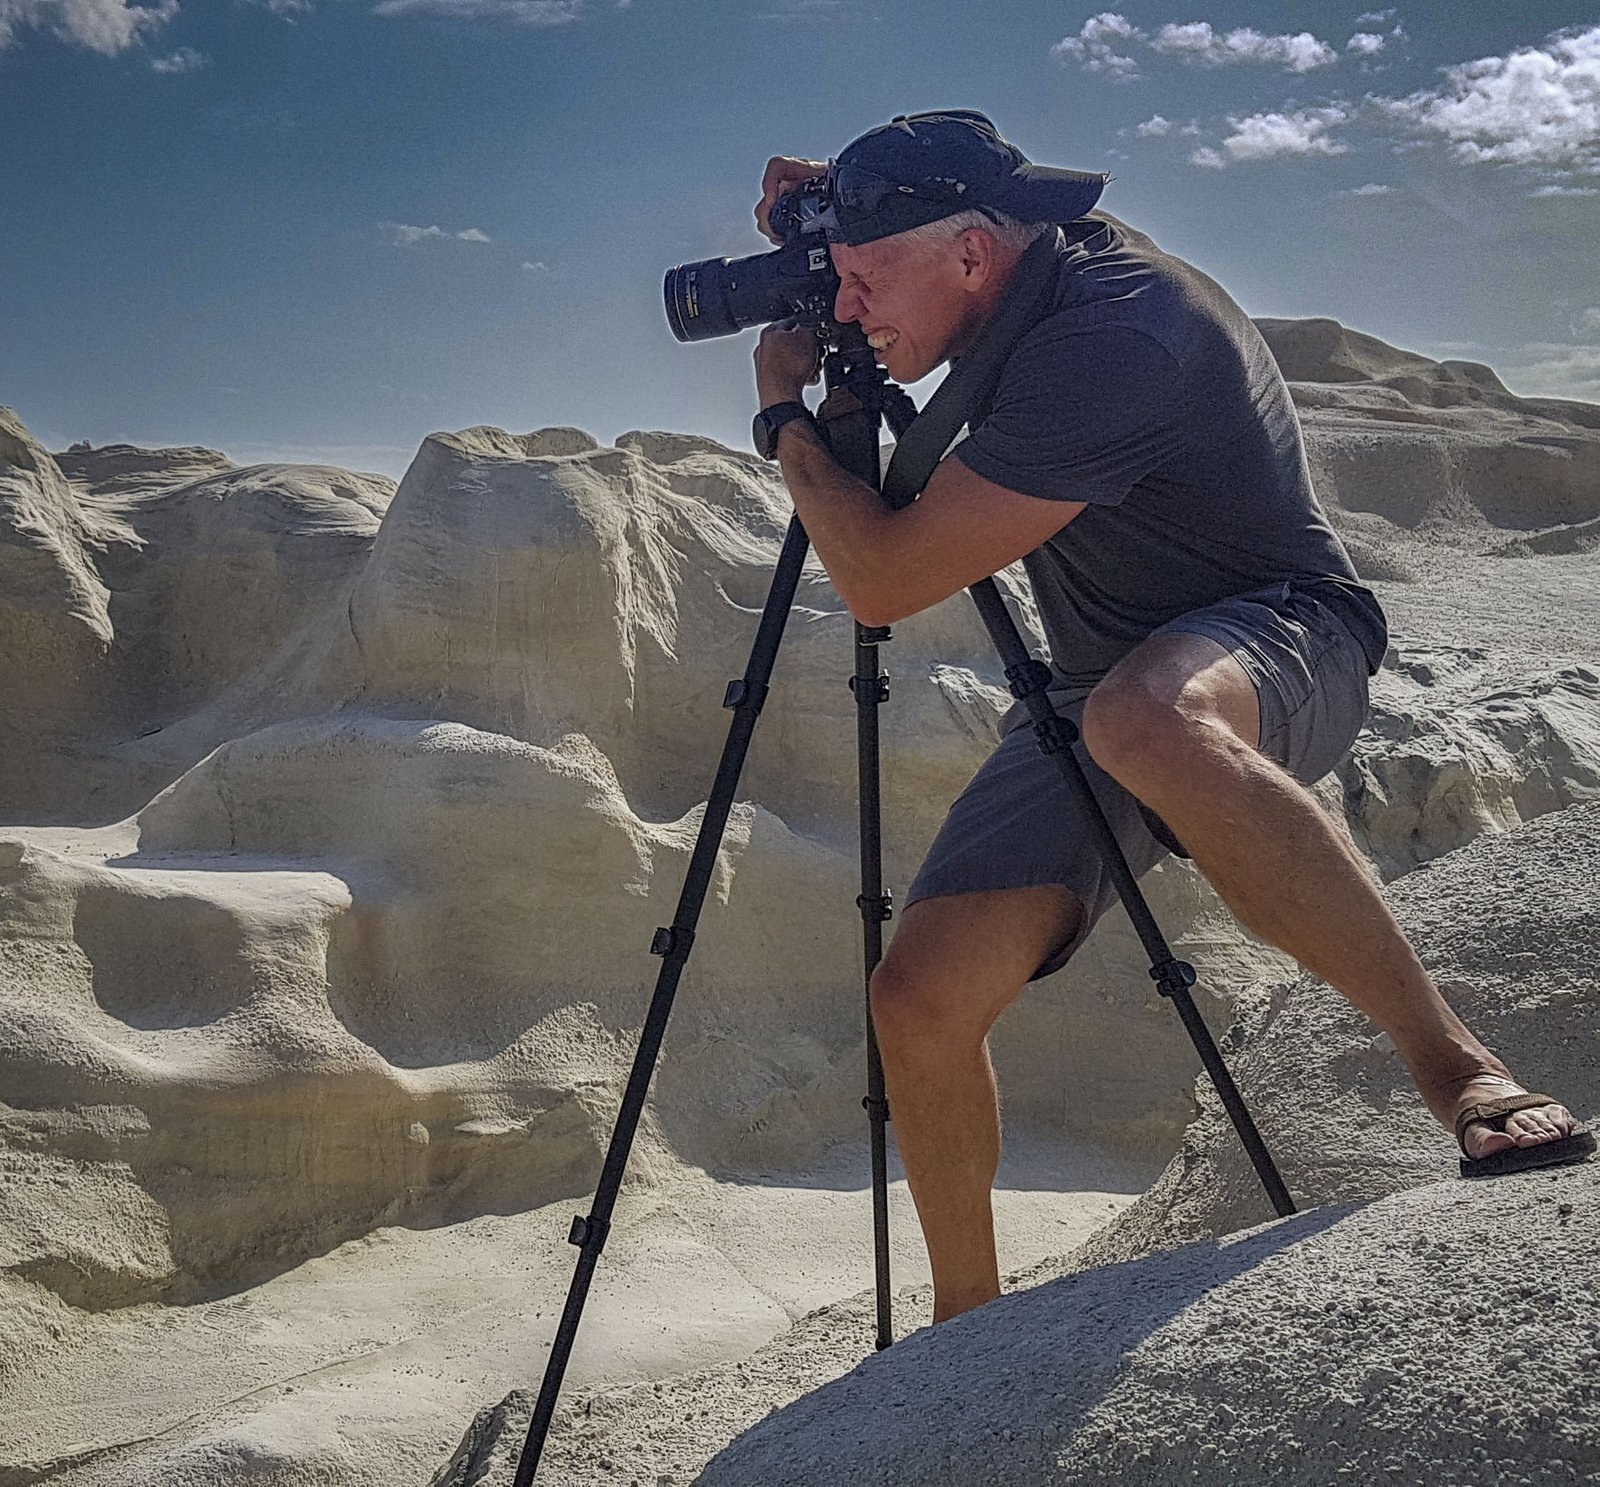
- Recommended gear: Sturdy tripod, lens cloths (a must to wipe the mist off), ND filters if longer exposures are desired, weather-sealed gear or protective covers, warm clothes and maybe photographer gloves (I use these)
- Parking : Parking can be crazy around the falls at peak times. If you happen to be there at an early hour, you can score parking just north of the falls giving you a couple hundred meter walk. Here is the GPS coordinates to plug into Google Maps : 43°05’11.8″N 79°04’36.6″W.
View my Niagara Falls photography in the gallery.
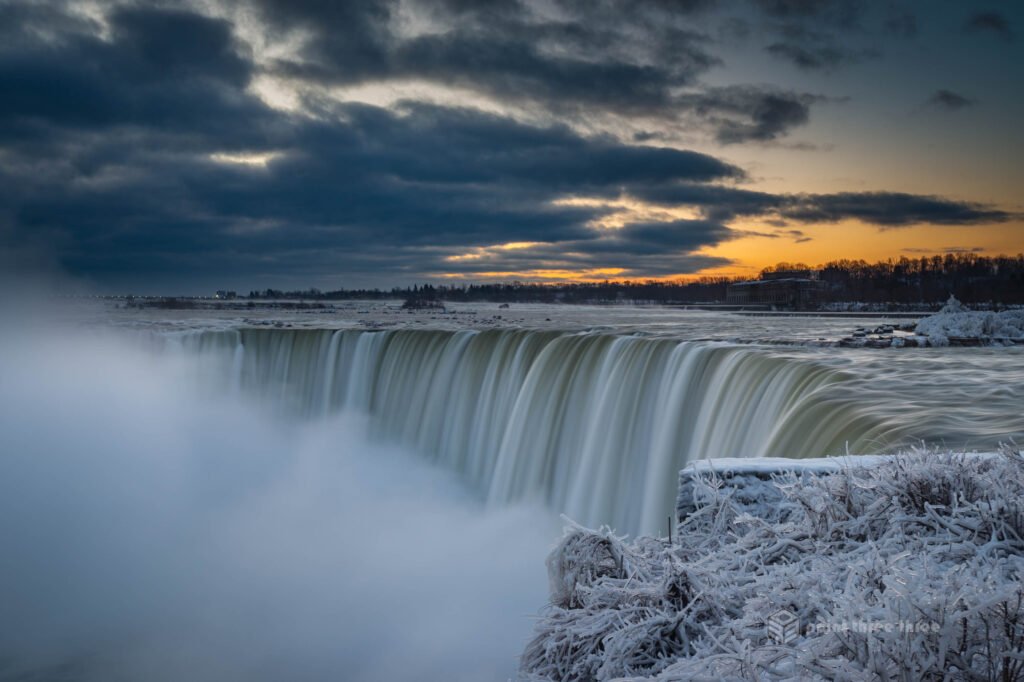
While the above image was my favourite from this shoot, the below landscape version I felt worked not too bad. It also conveyed a bit of the cold with the icy branches. This was taken probably 15 minutes later and the clouds continued to move across the horizon impacting the light but also added some drama.
After completion of the shoot at horsehoe, we walked back past the area adjacent the US falls. This image was about 30-45min after sunrise. You can see it peaking through the clouds at about 10deg above the horizon. I liked how it contrasted with the clouds. This was a super high contrast image shooting literally directly into the sun. I used a ND filter to capture the falls at greater than 1/4sec and a second image to capture the clouds which was many stops brighter. Its a bit surreal but I liked the drama it revealed. I might try shooting this right at sunrise on a future trek to the area.

If you are interested in making a mini vacation around taking this shot. Check out my Niagara Falls One Day Trip for tips and recommended itinerary and B&B location.